Drawing with Microsoft Visio to create
To work with Visio, you must first create a drawing. To do this, proceed as follows:
- Start Microsoft Visio.
- Under "categories" you now have a large selection of possible drawings that you can create.
- These are, among others, flow charts, org charts, calendars , or diagrams.
- Select the drawing and click on "Create". In the connection the plane of the drawing opens.
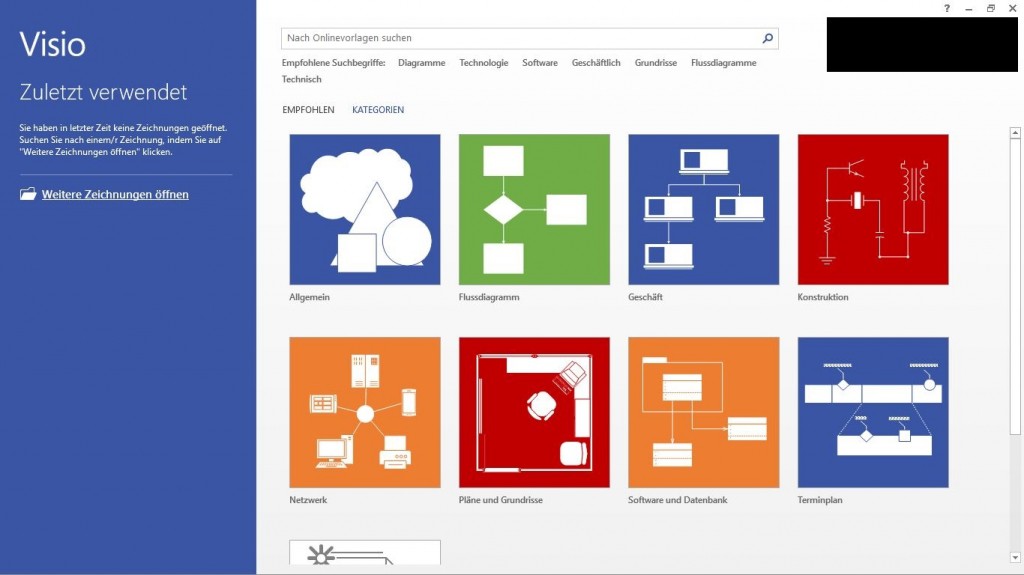
Visio: drawing create
Construction of the plane of the drawing in Microsoft Visio
After you have created a drawing, it opens the actual characters level:
- On the left you will find the so-called Shapes. These are pre-made templates you can use for your drawings. Also you will also have the opportunity to have your own Shape to create.
- The Tools to edit your drawing, you will find, as with all other products in the Microsoft Office series, at the top.
- In the middle of the screen, the actual character sheet is, to the Shapes to arrange.
Microsoft Visio: Characters Level
Drawing with Microsoft Visio to make
Proceed as follows to do a drawing with Microsoft make Visio:
- Select the appropriate Shape, and then drag it while holding down the left mouse button on the character sheet.
- Once you have drawn several Shapes on the sheet and aligned, you can connect the individual Shapes by using the "connector".
- To do this, press [CTRL]+[3] the "connector" to select.
- Now click with the left mouse button on the Shape which is pressed you want to connect and hold the mouse button. Now go to the second Shape, and release the mouse button.
Microsoft Visio: Drawing
The finished drawing with Microsoft Visio export
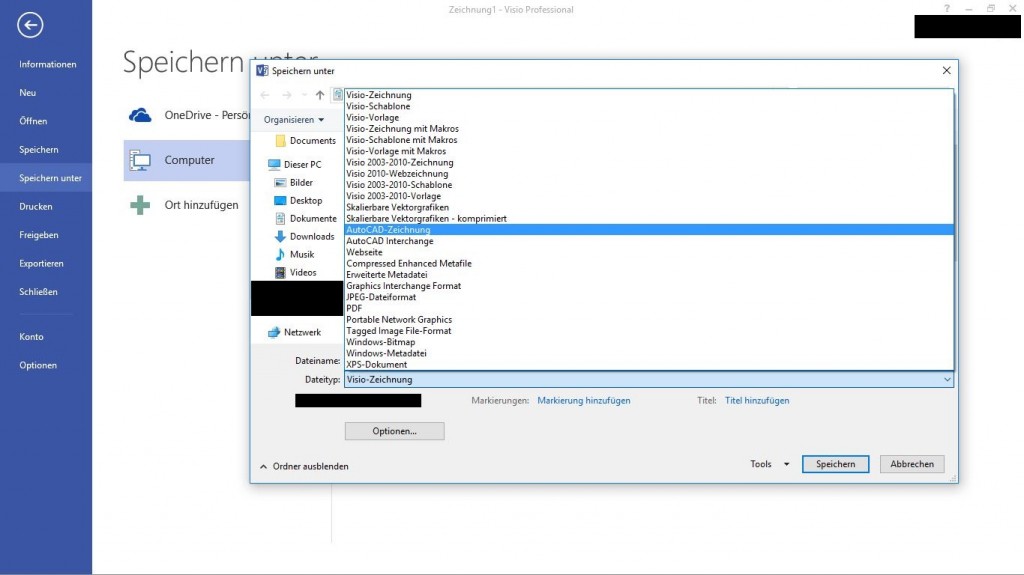
After you have made your drawing with Microsoft Visio, you need to save this just yet:
- Press the key combination [CTRL]+[S] to save your drawing.
- In the window that opens, you can now specify the location of the drawing.
- Under "file type", you have the possibility, the Format of the Visio drawing, select it. To be able to use the drawing again later change, you should use the Visio Format ".VSD" use.
- It is also possible, the drawing in popular image formats, such as, for example,".JPEG" or ".PNG", or as an AutoCADdrawing to save.
Microsoft Visio: Save
Where you templates for Microsoft Visio Shapes find out more in our next article.


