E-mail account in Outlook to open
Before you can set up the synchronization, you need to open your Email account in Outlook. To do this, proceed as follows.
- Click on the top left Tab "file".
- In the next view, select add on the right side of "account".
- Fill in the wizard and confirm with a click on "next". Outlook will now set up your account automatically.
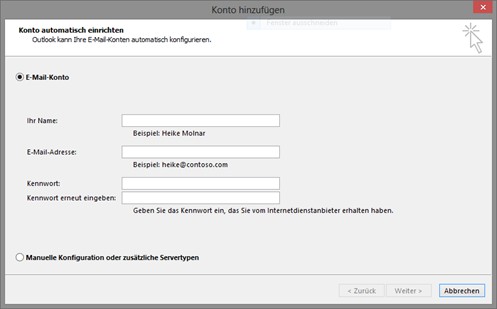
E-Mail Account Wizard
Automatically sync IMAP folders
Using the below guide, you synchronize your IMAP account automatically.
- Click SEND First Tab "/RECEIVE" in the ribbon menu.
- Then open the drop-down bar, the "Send / Receive groups".
- Now select the item "Send / Receive groups to define...".
- In the next window, click "New..." and give the group the name "IMAP-Sync".
- Select in the left bar for your IMAP account.
- Make sure that on the right side of the "account in this group include" is highlighted.
- After that, you activate the point ", The below-defined user-defined behavior to apply". Now you can select all the folders you want to synchronize (for example: see graph). Repeat steps 5 - 7 for each additional IMAP account.
- Confirm your selection with a click on "OK".
- In the lower section of the window, you can set how often new messages should be checked.
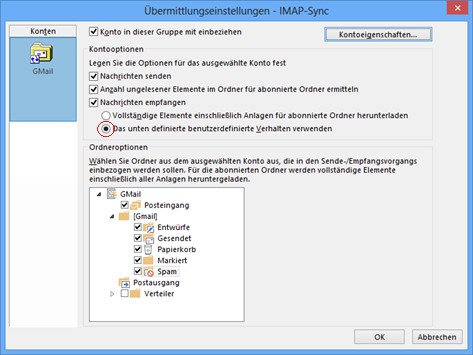
User-Defined Sync Behavior
This guide applies to Outlook 2013. Some tips on "manage calendars" you can find here.


