1. Final Cut Pro X set up
Download the Software Final Cut Pro X to Create complex and professional video cuts down.
- Final Cut Pro X is when you Create a new project that your Videos are already available in the Format and the quality of the your finished movie.
- Since, however, this is not often the case, you should select when you Create a new project under "video properties" and "Adjusted". You can now select the desired Format, as well as a matching resolution and frame rate.
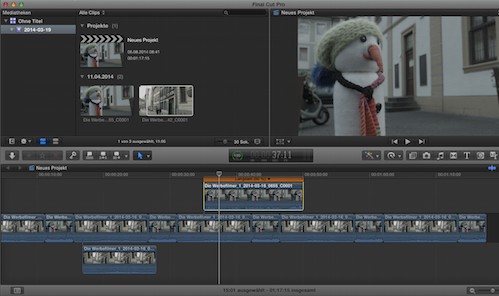
The interface of Final Cut Pro X
2. Presets in Final Cut Pro X is set correctly
- Final Cut Pro X copies all of the Clips you are working with, directly in your project. This requires a lot of memory space and makes the Cut on older computers painfully slow. You should therefore choose to start at the bottom of the tab "Final Cut Pro" in the "settings" and switch to "playback". Here, select the option "render in Background".
- Then, go to the "Import" and select "media from its original location, left", so that your video clips are not copied in the library of Final Cut. With powerful Hardware, you can leave the settings untouched.
3. Clips in Final Cut Pro X sort and rename
- Before you start the actual Cutting, you should pay attention to proper sorting and titling the Clips. Rename all Clips to the right and meaningful.
- You can show this in the tab "Mark" the "tag editor", so you can find it later your Clips better. In Final Cut the Clips into folders and events to be sorted. You can use this opportunity to organize your Clips around to the filming locations.
Cut in Final Cut Pro X
4. To define the Start and end points
- You use edit in Final Cut Pro X to the possibility of so-called In - and Out-Points. So you can set each Clip has a Start and an end point in time. So just paste the part of the clip that is between the two points, and can remove the flap at the beginning of a clip.
- Play a Clip in the media Browser in the top left and put the buttons "I" and "O" of your points. Alternatively, you can drag the mouse over the Clip preview, the area between the two points will be highlighted in yellow.
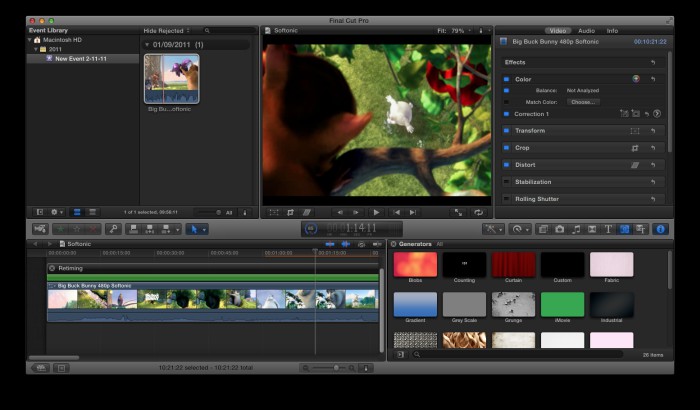
5. iTunes-Integration of Final Cut Pro X
- You use the iTunes Integration to add music to your project. With the music icon in the overview bar on the right side, you can open the music library in your iTunes library is displayed.
6. Final Cut Pro X: tips to the color settings
- You have a Clip, in which the color does not fit to the other, you can change this with the Tool "adjust color". To do this, select the Clip and click the magic wand in the middle of the bar. You select "color balance". This function should use only in case of emergency, you need to pay attention to when movies still have the correct settings.
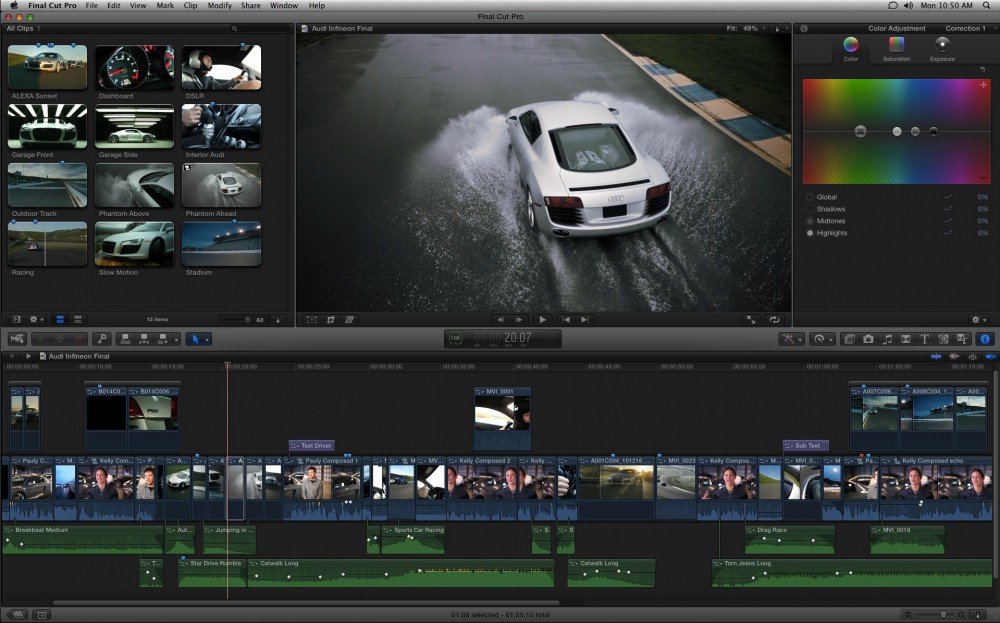
Final Cut Pro X: how to adjust color
7. Clip on YouTube
- Your movie should be published on YouTube, to do this, select under "file" and "Deploy" and then "YouTube". So you can save time during the Upload and Encode.
If you aren't sure whether you prefer to work with Final Cut Pro X or Adobe Premiere Pro, cut want, helps you with our comparison between Final Cut Pro X and Adobe Premiere Pro.