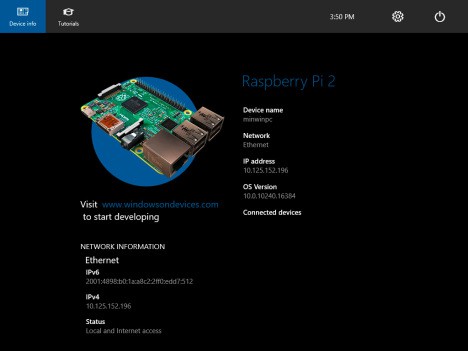
Windows 10 on Raspberry Pi – The preparation
To be able to support Windows 10 on your Raspberry Pi 2 to install, you will need a computer with Windows 10 and the Raspberry Pi is a microSD card with at least 8 GB of memory. An Installation on the other Raspberry Pi models is not possible. Before you go for the Installation as follows:
- First, download the Windows 10 IoT here down. To do this, select "Windows 10 IoT Core for Raspberry Pi 2".
- A bind the downloaded Image with a double click.
- Install "Windows_10_IoT_Core_RPi2.msi" which is on the Image.
- After Installation, you can eject the Image.

Windows 10 IoT for Raspberry Pi
Windows 10 on Raspberry Pi – flashing the SD card
As a next step, you need to flash the Windows 10 IoT on the microSD card. To do this, proceed as follows:
- Plug in the device, the miroSD card in your card reader.
- Search with [Windows]+[S] to "WindowsIoTImageHelper" and run the program.
- Then I select the SD-card and including the path "c:\program Files (x86)\Microsoft IoT\FFU\RaspberryPi2 stuck".
- With a click on "Flash" the Image will be written to the SD card.
What are the operating systems on the Raspberry Pi running, you will learn in our next practice tip.


