Picasa: watermark on images-Export to add
You want to save a water-marked photos locally on your hard disk, proceed as follows:
- In Picasa, select the pictures you want to add a watermark.
- In the photo tray, click on "Export".
- You now put the checkmark next to "add watermark".
- Enter the Text for the watermark in the empty field and then click "Export".
Picasa: a watermark when you Export
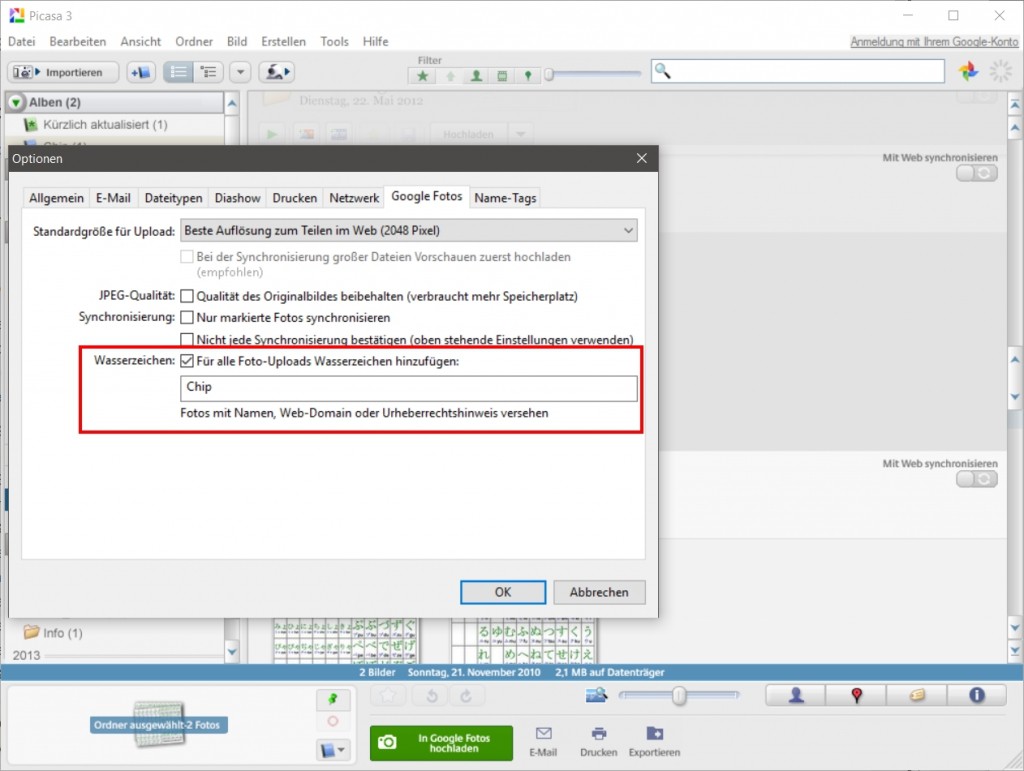
Picasa: a watermark when Uploading to Google add photos
Picasa can also protect automatically all the images with a watermark, you can upload to Google photos:
- To do this, click in the menu bar, click "Tools" and then on "options".
- Now switch to the Tab "Google photos".
- You put the checkmark next to "For all the photo Uploads add watermark".
- Then enter the desired Text in the watermark field.
- Save the Change by clicking "OK".
Picasa: watermark on Upload
As a watermark to your YouTube Videos add, read in our next practice tip.