The first time you Start GIMP
- You can open an existing image, click on "file" and "Open". Alternatively, you can create a new project. You can specify the resolution and size of the image itself.
- In the middle of the editing area - the selected image appears. In the layer Manager on the right edge you can see a new layer with your image. The yellow-and-white dashed border, up to which limit of the current area ranges.
- With the little eye icon you can hide the current layer. You want to delete the level, is enough to delete a right-click on the layer and selecting "layer."
The tools of the photo editing program
- With the selection tool, you can highlight a section of a level. Then, you can use only within this selection, for example, a brush. Also, the highlighted areas will have to copy and paste. The selection of his own forms will give you the rod through the magic of or the Free selection easier.
- With the shape tools, you can adjust levels or a choice in their appearance. So you can rotate a selection, scale, or distort.
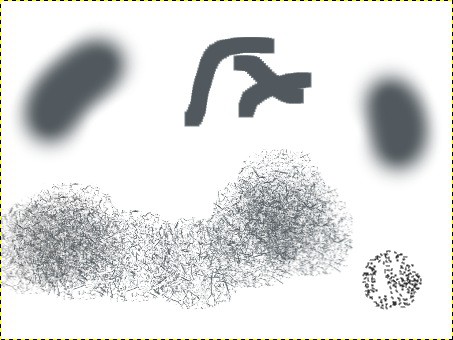
- By the Time tools, you can draw your own sketches. This makes especially with a graphics tablet, a lot of fun. With the eraser you can remove the wrong lines in and out fast.
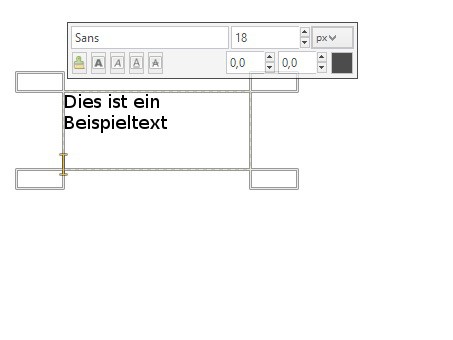
- You want to add your pictures or sketches of the Text, you can do this with the Text tool. This GIMP created a separate Text layer, you can manage just like any other level.
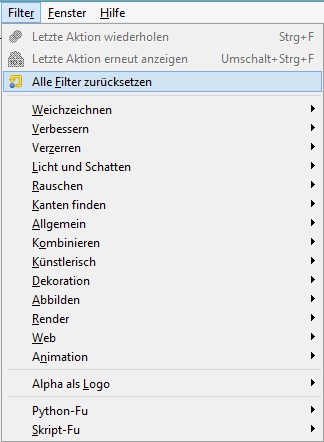
The filters in GIMP
- With the "Gauschner blur" you can give your image with a small Trick a deep effect. They duplicate the area and apply the Filter to the upper level. If you remove selected parts of the upper surface with the eraser, it creates a depth of field blur.
- The "Cartoon"effect and other filters from the art category, you can enhance your photos artistically. You can set how strong you want the effects to lay over the photo.
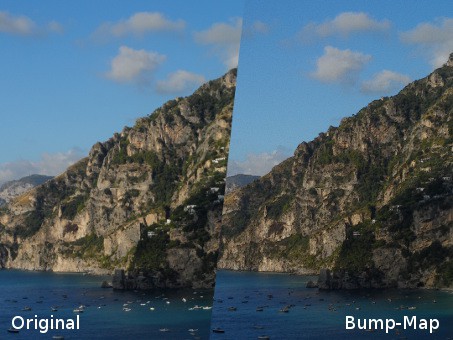
- Under "Map" you will find the Bump-Map Filter. Originally for Creating textures with height values intended, you can enhance your photos visually. After the own fine-tuning and Applying effect of rough surfaces much plastic and realistic.
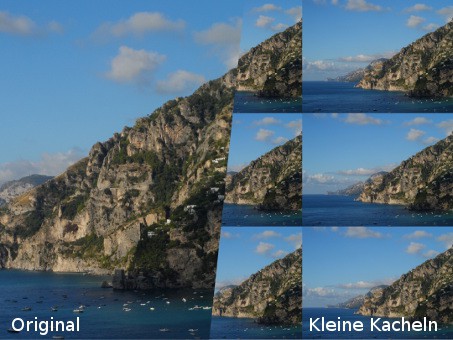
- Very handy for passport photos or the like: With the "Small tiles"Filter, the image will be automatically scaled in a selectable number of small images repeated. Time-consuming Copy-Paste of the work for you saves a lot of.
GIMP - Useful tips and Tricks
- With "Tab" you can view the function buttons to the left and to the right of the editing area quickly and hide.
- If you miss the line tool from Paint: With "Shift" is focused at Drawing the last point: Draw now on a different point, a point, a straight line between the points.
- Holding down the spacebar, the image can be changed quickly by moving the mouse to move.
- Under "window" and "single window mode", the function surfaces simply by the program solve and fix.
- You don't like their latest Changes you can make with the key combination "Ctrl"+"Z" the last steps undone.
Latest Videos
With the selection tool, you can be any shapes, which are then selected for editing. So will Fill with ""tool, for example, the marked area is filled in with a color.
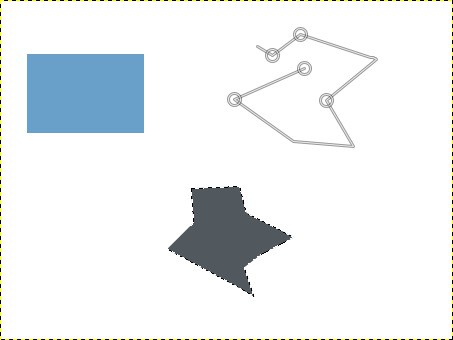
With the selection tool, you can be any shapes, which are then selected for editing. So will Fill with ""tool, for example, the marked area is filled in with a color.
Due to the shape tools, you can distort all the planes three-dimensionally, the size change or the surfaces rotate.
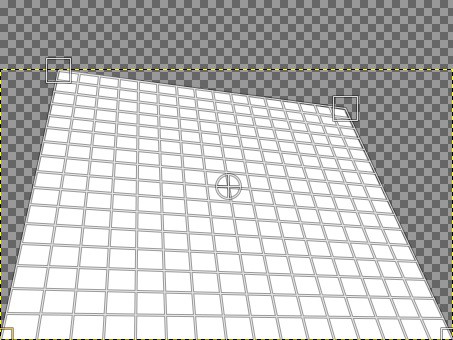
Due to the shape tools, you can distort all the planes three-dimensionally, the size change or the surfaces rotate.
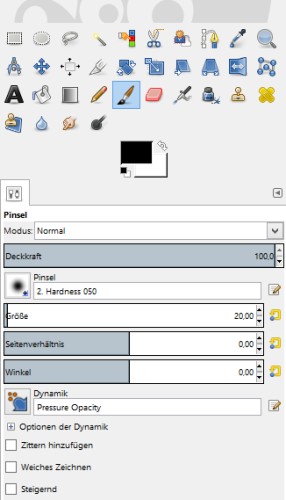
There are different brush tips and settings are available. Also, the size of the brush can be limitless, change, or rotate.
There are different brush tips and settings are available. Also, the size of the brush can be limitless, change, or rotate.
With the built-in Text Tool, you can quickly insert captions, or professional logo design.
With the built-in Text Tool, you can quickly insert captions, or professional logo design.
After the blur Filter on the parts of the image, the sharp elements of the image seem to Apply more in the foreground.
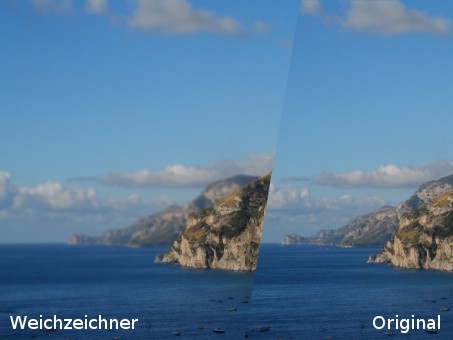
After the blur Filter on the parts of the image, the sharp elements of the image seem to Apply more in the foreground.
The Cartoon effect makes your images to send works of art. The outer lines of the photo to be tightened up, objects with black color.
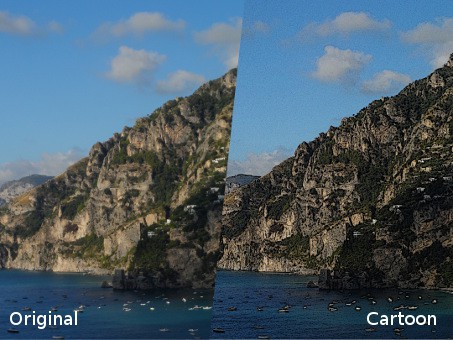
The Cartoon effect makes your images to send works of art. The outer lines of the photo to be tightened up, objects with black color.
The Bump-Map-edged elements of the image are reinforced plastic. You can also apply this effect with a different level, then a fancy Relief arises.
The Bump-Map-edged elements of the image are reinforced plastic. You can also apply this effect with a different level, then a fancy Relief arises.
With the "Small tiles"Filter, your image will be resized and automatically multiplied. This is especially handy for passport photos.
With the "Small tiles"Filter, your image will be resized and automatically multiplied. This is especially handy for passport photos.


