OneNote on Windows 10 uninstall
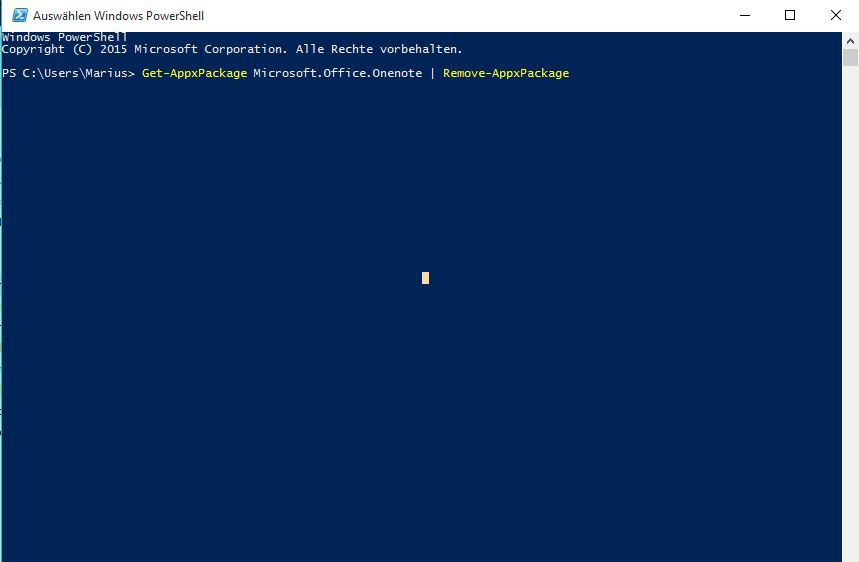
OneNote for Windows 10 is not like other Apps by right-clicking on the tile, uninstall it. Instead, you need to intervene on the so-called Powershell in the System:
- Press the key combination [Windows] + [R], so that the Run Dialog opens.
- There you type the command "powershell" and press [Enter]. It starts the Windows Powershell. This is an alternative command line program by Microsoft that works like CMD.
- In the blue window, type the command "Get-AppxPackage Microsoft.Office.Onenote | Remove-AppxPackage" without the quotation marks and confirm with [Enter].
- After a short time, OneNote is completely uninstalled and you can close the Powershell.

Win 10: OneNote remove
Windows 10: OneNote re-install
You want to install OneNote again at a later date, no Problem:
- To do this, click the bottom right of the Windows Icon and open the start menu, the "Microsoft Store".
- In the Microsoft Store, you type in the search box at the top right "OneNote" and confirm with [Enter].
- Select the same application and click on the "Install" Button to install OneNote again.
Other important commands for Windows Powershell, you should certainly know about, we have on the next page, summarized for you.


