Colored stripes on the Notebook screen or video card defect?
First of all, you should find out whether the screen of your laptop or the graphics card is the cause for the colorful stripes. The easiest way is for an external Monitor.
- Are you looking for the external graphics port of your notebook. If you are not familiar we show you in this guide, where you will find.
- Are you looking for a Monitor that you can connect it to your Laptop. Tip: If there is a HDMI port on your Laptop, you could have with a little luck, with the domestic flat-screen TV - suitable cable provided.
- Connect the Monitor to your Laptop and start it up. If your external Monitor from the colored strip shows unimpressed and you realize everything trouble-free and that is a display error.
- You can see on the external Monitor, the colorful stripes, it's probably on the graphics chip. The something is to be exchanged for hobbyists, there is no guarantee of success. The first is to replace, in the case of the device.
Step 2: causes more wobble - limit contact on the cable or screen heat damage
If you were able to exclude in a first step, the graphics card as the cause, there remain two causes: a verrutschtes cable and heat damage to the screen. Heat damage occurs when the Laptop is accidentally longer under a ceiling or in the sun, forget it. You can rule out heat damage and to dare to be directed to the cable, it is certainly worth a try.
- Please pull first the battery out of the Laptop and remove the power plug. In the CHIP Pro-tip for the Laptop-Dipslay-exchange we show you how to cable access. Sometimes you can find below ifixit.com a repair manual for your Laptop. There you can find out how to proceed when you Open your device at the Best.
- Get the necessary tools and a few shells. There you can store the small screws to lose or confuse. Then slowly open the Laptop until you have removed the entire cover and the display frame. Tip: Many Laptops have a removable keyboard, the more screws hide. You take photos to memorize the sequence for later assemble.
- You are looking for a very flat, about two to three inches wide cable. It is often gold, brown or silver, and is led from the motherboard to the screen panel. At both Ends there is a large plug that is secured with a small lever. The is the video cable.
- Check whether the lever is loose and the cable to one of the Ends has to be solved. You can find the cable in place, you can put it gently back in and with the tip of a ball-and-envelope set the little lever evenly on both sides of the press. Be careful: if the lever is defective, the Laptop unusable.
- Now you can put the Display back into place and the covers have to be mounted again. Make sure the small screws and other metal parts. Nothing Metallic may later touch the contacts of the electronics.
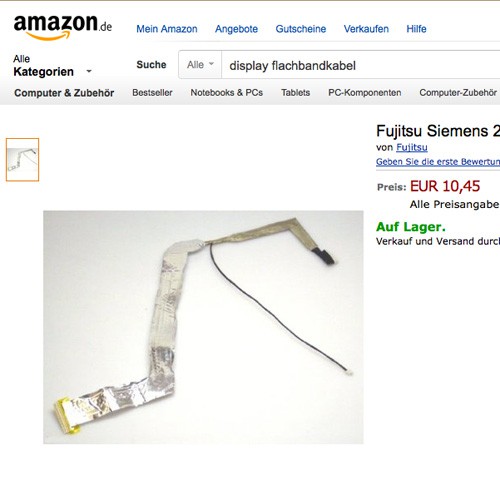
Video Cable (Image: Amazon)
- Now it is time for a Test: If the Laptop is closed, can you plug in the AC adapter and the Laptop start. Now you see, if you had success. If the strips are not still gone, the Display is irreparable damage. Here are only Replacing the help, unfortunately.
Does the Rest of your laptop is still fine, only the Display does not want to more, you can also use an external Monitor to your Laptop.