Linux: using your printer in Ubuntu
By default, the Ubuntu operating system detects your printer. Set it up with the following steps.
- Connect the printer via a USB connection to your device and start the printer.
- Open system preferences and navigate to the section "Hardware" to the menu point "printer".
- Select "Add".
- Under "devices" you can now find the exact name of your printer.
- Tap on "Before".
- You opt for the suitable driver from the database. The correct drivers are not in it, download this on the manufacturer page and select instead of "driver database" select the Option "PPD sites".
- Then you can change the printer name and its description in Ubuntu.
- Confirm with "Apply".
- If required, select the "print test page".
Printer in Ubuntu
Ubuntu: printer set up and customize
You have installed your printer successfully.
- In the system settings, see "printer" to your device.
- If you want to remove the printer, click with the right mouse button on the name and select "Delete".
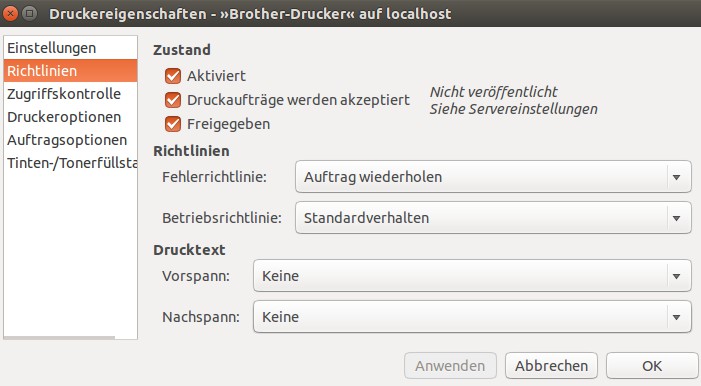
- Open the printer properties, if you click with the right mouse button on the name and then select "properties".
- In the menu that now opens, you can the status of the printer and the print queue view the queue, the printer and the paper feed rules.
Linux/Ubuntu: setting up your printer
The manual describes a solution in Ubuntu 14.04 LTS. In another article you can read how you Windows driver under Ubuntu to use.


