So the Sample Rate Converter to work
- To double a sample rate, one can simply duplicate each Sample. This is one of the few in sample rate Changes, the loss is free.
- To reduce the sample rate is always lossy, unless the Information contained is as in case 1, completely redundant.
- Unfortunately, all of the typical sample rates of 22050 Hz, 24000 Hz, 32000 Hz, 44100 Hz, 48000 Hz and 96000 Hz are not integer multiples of each other. To duplicate values is often not possible.
- In these cases, the Converter must conclude from the known values, the rates is, what happens in between.
- The easiest way is to use the "nearest neighbor", so the next known value. Thus, jumps occur.
- A further possibility is the linear Interpolation between the known positions.
- By leaps and steep interpolations of high frequency sound energy is created but. This may be undesirable.
- Splines minimize the curvature between the known values, so the second derivative of the time signal. The reduced high-frequency sound energy.
- Sharp Attacks, such as bass drums or harpsichord notes, but should remain the ideal way to steep and not to be smoothed, such as by Splines.
- The Problem is that a Converter cannot often know whether a steeper signal increase is desired, or not.
- Therefore, there are many approaches to a solution. The audio is archived, it is analyzed before the new Samples are created. Now is created, for example, the time signal so that the original spectrum remains as unchanged as possible. Or it can be detected Trends in the audio signal and led.
- Most of the Sample Rate Converter give no exact information about the internal methods that you apply. This is your business secret.
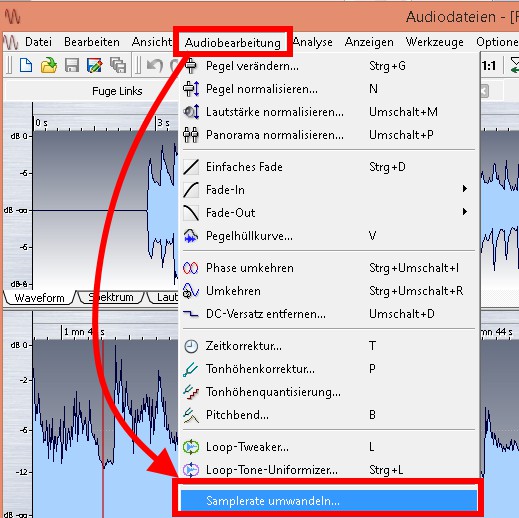
- You should try an alternative Sample Rate Converter, if you are a conversion to be dissatisfied. In the gallery we show you how you can in Foobar, the sample rate convert.
Latest Videos
Select the files whose sample rate you want to convert. Then right click and select "Convert" ->"...".
:fill(000,true):no_upscale()/praxistipps.s3.amazonaws.com%2Feinfach-erklaert-so-arbeiten-sample-rate-converter_1.png)
Select the files whose sample rate you want to convert. Then right click and select "Convert" ->"...".
Now click on the right-hand side under "Current settings" aud "Output format".
:fill(000,true):no_upscale()/praxistipps.s3.amazonaws.com%2Feinfach-erklaert-so-arbeiten-sample-rate-converter_2.png)
Now click on the right-hand side under "Current settings" aud "Output format".
Select according to your request, for example, MP3, AAC, FLAC or WAV. You can keep the default settings: Automatic Bit depth and no Dithering (a). Confirm with a click on "Back" (b).
:fill(000,true):no_upscale()/praxistipps.s3.amazonaws.com%2Feinfach-erklaert-so-arbeiten-sample-rate-converter_3.png)
Select according to your request, for example, MP3, AAC, FLAC or WAV. You can keep the default settings: Automatic Bit depth and no Dithering (a). Confirm with a click on "Back" (b).
The crucial point comes: Click under "Current settings" to "Processing" and select under "Available DSPs", the "Resampler (PPHS)" and confirm the selection with the arrow to the left. A click on the "Configure Selected" and "Target Sample Rate" to set the desired sample rate. Click the optimizing of the quality to "Ultra mode" before you confirm with "OK".
:fill(000,true):no_upscale()/praxistipps.s3.amazonaws.com%2Feinfach-erklaert-so-arbeiten-sample-rate-converter_4.png)
The crucial point comes: Click under "Current settings" to "Processing" and select under "Available DSPs", the "Resampler (PPHS)" and confirm the selection with the arrow to the left. A click on the "Configure Selected" and "Target Sample Rate" to set the desired sample rate. Click the optimizing of the quality to "Ultra mode" before you confirm with "OK".
Now just quickly on the "Back" and "Convert" is clicked and the conversion can begin.
:fill(000,true):no_upscale()/praxistipps.s3.amazonaws.com%2Feinfach-erklaert-so-arbeiten-sample-rate-converter_5.png)
Now just quickly on the "Back" and "Convert" is clicked and the conversion can begin.