Gimp-image edge resolve with blur to Nothing
Gimp offers many of the Plugins your photos with stylish effects to decorate. One of these is the so-called "soft-focus". Exactly that you need for the picture frame effect:
- Select the rectangle tool and mark the center of the image. How much space do you the edge should you see in our images gallery.
- Click the quick mask icon in the bottom left corner.
- Now select in the menu bar "Filter" and then click "Distort" and "twist and squeeze".
- Increase the "angle of rotation" to the edge of the image is irregular, for example "100". You enhance the effect with the "Radius". Here, you can leave, but usually the value at "1".
- Click on "Filter" and select from the drop-down menu "soft white of the signatories to sign" and then "Gaussian".
- You can increase the Radius until the edge is sufficiently blurred.
- Remove the quick mask in the lower corner and you will invert the view about "selection" and "Invert".
- Select "edit" and "fill With background color" to complete the effect.

Hidden Edge Of The Image
Make your photos even more mysterious to make, you can use Gimp also a smoke effect to conjure up.
Latest Videos
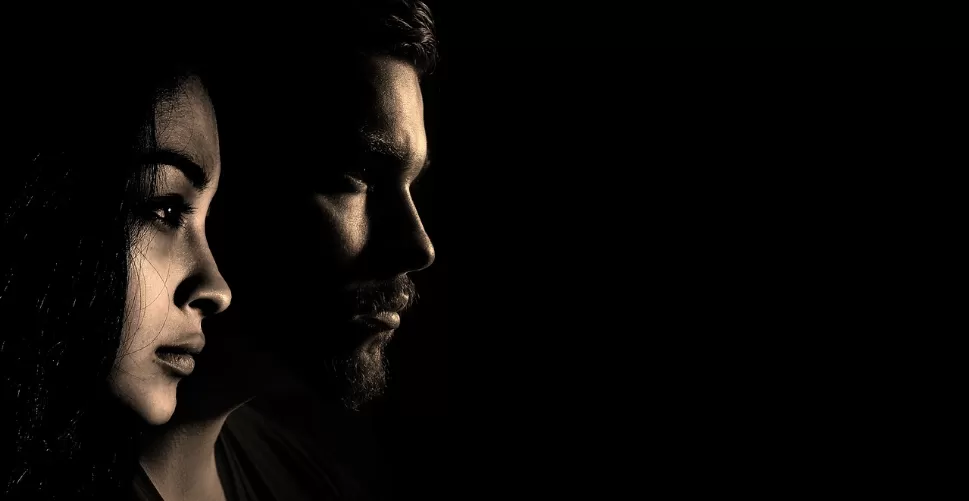
The distance to the edge of the image depends on how pronounced you want the effect to be. The greater the distance, the slower is hidden in the image.
The distance to the edge of the image depends on how pronounced you want the effect to be. The greater the distance, the slower is hidden in the image.
The quick mask you can find at the bottom left of the work area. After the click, the image border will turn red.
The quick mask you can find at the bottom left of the work area. After the click, the image border will turn red.
The "rotation angle" and "Radius" the edge at the end of irregular appear. As a result, the Fade-Out no longer seems so artificial. The two values depend inter alia on the resolution of the photos.
The "rotation angle" and "Radius" the edge at the end of irregular appear. As a result, the Fade-Out no longer seems so artificial. The two values depend inter alia on the resolution of the photos.
The higher you set the Radius of the blur, the slower the photo is hidden. Make sure that the two values are the same.
The higher you set the Radius of the blur, the slower the photo is hidden. Make sure that the two values are the same.
You are not satisfied with the result, you can make the settings with the key combination [Ctrl] + [Z] undo. Then try the steps again.
You are not satisfied with the result, you can make the settings with the key combination [Ctrl] + [Z] undo. Then try the steps again.