Diorama effect in Gimp create
- Open the image in Gimpby clicking "file" and "Open" to choose.
- Select the ellipse selection tool from the Toolbox. Select the range to be displayed at the end of sharpest.
- Click "selections" "Invert". Then, you also select in "selection" the Option to "Hide".
- Here you enter the value to 400 pixels and confirm by clicking on "OK".
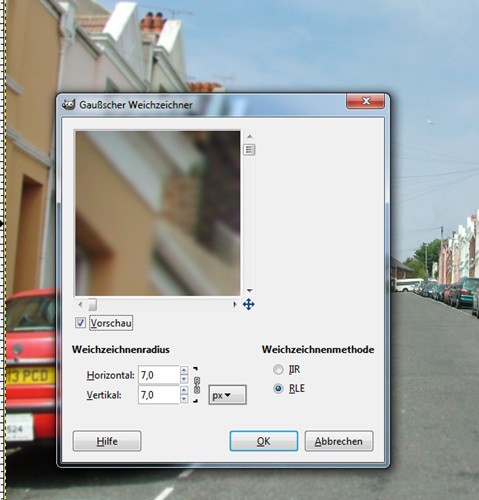
- Select in the menu bar "Filter" and click "blur" to "Gaußschner blur". In the next window, both "Horizontally" and "Vertically" to the value 7. Confirm by clicking "OK".
- Click "selection" to "Nothing". Then select the "colours" Option to "color values". Click on the button "These settings as curves"edit.
- Drag the curve slightly upwards to the left and confirm with "OK".
- Select with the selection tool in the same place as at the beginning and click again on "Invert". Perform the steps 3 to 5 again. If you want to lighten the colors a little, perform step 7 again.

Gimp: Diorama Effect
In the next practical tip we will show you the five best beginner tips for Gimp.


