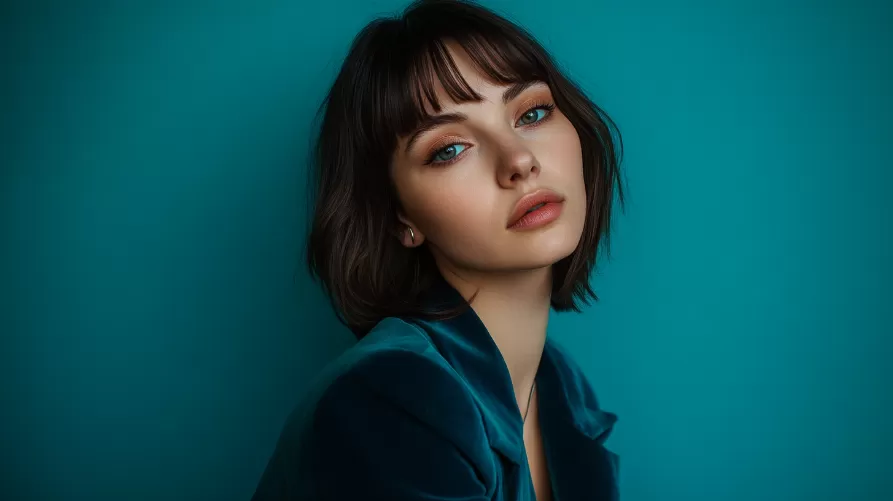
Hair with hue / saturation and layer mask in Photoshop color
- Open the image in Photoshop ("file - Open"). Usually you now have a layer in the layer control in the bottom right of the Background layer. If you do not see the layer control, you can open it in the menu under "window - layers".
- You color the whole image with the correction layer "hue/saturation". You can find them right on the panel under the tab "corrections". About the Slider to the "hue" allows you to set the desired hair color. Don't worry that the whole image is discolored.
- Now you restrict the colour effect on the hair: Click on the layer mask of your correction level (white box on the layer "hue/saturation"). The layer mask works as a stencil and determined to see something of the effect should be. In the next step, you make them completely black, so that the effect is not at all to be seen.
- To do this, select the paint bucket. He is on the left in the tool bar below the gradient tool is hidden. Press and hold the gradient tool, a menu folds out and the paint bucket displays. Then select on the left of the bottom of the tool, the colors Black and White bar at the color fields.
- Now click once on the white box in the layer "hue/saturation" to select the layer mask. Then click with the paint bucket and black color in the middle of the image. The color effect should disappear and the layer mask black. If, instead, the whole image is black, have you clicked on the wrong username when you Select the layer mask.
- Now turn the skewers and brush the layer mask white over the hair on your image. For this, take a brush (on the left in the toolbar), and select White as the foreground color. Set the brush to a size that is most comfortable for you. Then, select again the layer mask of "hue/saturation".
- Now you can brush on the image to the color effect "free", by paint over the hair of the Person in the picture know. Including the color effect of your correction level comes out again. To the right of the layer mask, the free painted Bodies are seen as white areas. If you have blended, this is not a Problem: simply Paint with Black on it, and do not cover the correction level.
- If the effect is too strong, reduce the opacity of the correction layer, or try a different blend mode in the layer control - for example, "Soft light" or "Multiply".

Latest Videos
The output image has a flat and is still pending.

The output image has a flat and is still pending.
On the panel "corrections" add "hue/saturation" as a new layer. Set the hair color.

On the panel "corrections" add "hue/saturation" as a new layer. Set the hair color.
You will not disturb the Set do not mind that everything is discolored. You can change this in the next step.

You will not disturb the Set do not mind that everything is discolored. You can change this in the next step.
Select the paint bucket and the color Black from the toolbar. The paint bucket is hidden under the gradient tool, a long click allows him to appear.

Select the paint bucket and the color Black from the toolbar. The paint bucket is hidden under the gradient tool, a long click allows him to appear.
Now click on the layer mask and then with the paint bucket in the middle of the image. The color change should immediately disappear.

Now click on the layer mask and then with the paint bucket in the middle of the image. The color change should immediately disappear.
Now you can brush with a white brush the hair on the image. Make sure that the layer mask is selected. You have missed your model a new hair color.

Now you can brush with a white brush the hair on the image. Make sure that the layer mask is selected. You have missed your model a new hair color.


